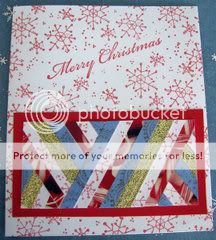
This step by step tutorial will demonstrate how to make a personalized zig-zag greeting card.
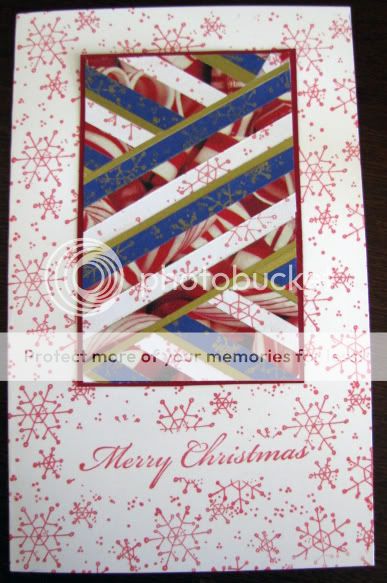
4You will need hard white paper, stamps with inscriptions and ink for them, colored paper, glue and scissors (or trimmer).
Cut a 20 x15 cm rectangle (long square) out of hard paper and fold it by half. You now have a blank 10 x 15 cm card. If you wish, you can change the card’s dimensions according to your preference.
Now create a background pattern and add the greeting phrase on the front of the card with stamps and ink. In this case snowflakes and “Merry Christmas” stamps were used. The paper should be stamped in such a way that one picture does not push into another.
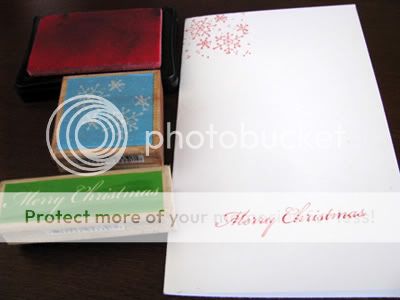
The card is almost ready. If you do not have much time, this could be your finished project:)
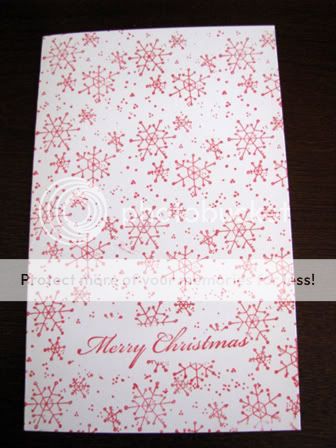
If your are not in a hurry, there are more things to be done with the card.
Cut strips of paper 5-6 mm wide out of colored paper sheets. I also put stamp pattern on some paper. Moreover, I cut the gold colored paper in even thinner strips:). The strips are 15 cm long.

Put a layer of glue on a 5 х 15 cm thin white paper sheet and stick strips of colored paper on it following a pattern. If you prefer things to look chaotic and unpredictable, you could stick them with no pattern in mind at all.

Take another sheet of thin paper 5 cm wide. Keep in mind that all dimensions mentioned are optional. Glue the striped sheet of paper to it under the angle of 45*.

Turn over the sheet and cut the striped parts that are sticking out on both sides.
 Glue the segments that had been cut to create zig-zag effect.
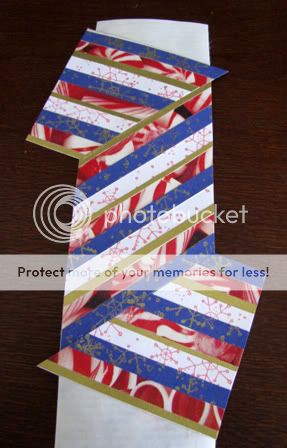
Cut any sticking out pieces to get a rectangle.

Glue the zig-zaged rectangle to a background sheet and then to the stamped greeting card.
It is also possible to glue thin ribbons or thread in addition to the stripes of paper.
 Your new card is ready!

4You will need hard white paper, stamps with inscriptions and ink for them, colored paper, glue and scissors (or trimmer).
Cut a 20 x15 cm rectangle (long square) out of hard paper and fold it by half. You now have a blank 10 x 15 cm card. If you wish, you can change the card’s dimensions according to your preference.
Now create a background pattern and add the greeting phrase on the front of the card with stamps and ink. In this case snowflakes and “Merry Christmas” stamps were used. The paper should be stamped in such a way that one picture does not push into another.

The card is almost ready. If you do not have much time, this could be your finished project:)

If your are not in a hurry, there are more things to be done with the card.
Cut strips of paper 5-6 mm wide out of colored paper sheets. I also put stamp pattern on some paper. Moreover, I cut the gold colored paper in even thinner strips:). The strips are 15 cm long.

Put a layer of glue on a 5 х 15 cm thin white paper sheet and stick strips of colored paper on it following a pattern. If you prefer things to look chaotic and unpredictable, you could stick them with no pattern in mind at all.

Take another sheet of thin paper 5 cm wide. Keep in mind that all dimensions mentioned are optional. Glue the striped sheet of paper to it under the angle of 45*.

Turn over the sheet and cut the striped parts that are sticking out on both sides.
 Glue the segments that had been cut to create zig-zag effect.
Cut any sticking out pieces to get a rectangle.

Glue the zig-zaged rectangle to a background sheet and then to the stamped greeting card.
It is also possible to glue thin ribbons or thread in addition to the stripes of paper.
 Your new card is ready!
very nice!
ReplyDelete