A Note About Copyright

I hold the copyright to all images on this blog, unless otherwise noted. Please do not reproduce them without my permission. If you plan on using my material in another blog, I'd be delighted, but please notify me before you do so, and, of course, link back to me. Thank you.
Showing posts with label tutorial. Show all posts

August 5, 2018

Cat Claw Knot for Donut Pendants

You have a nice donut bead/stone and want to wear it as a pendant but do not know how to present it better?
Today I will show how to make a Cat Claw Knot . 
 The lenght of the cord you will need to cut depends of the size of the donut/bead you have and the thickness of the cord you use. This knot can be made with any type of cord or thread that is flexible enough to be folded - leather, hemp or other fiber cords.

If the object you are tying the knot on has a front or back, decide which side you like best.
Turn the donut so the back side is facing you.
1) Fold the cord in half. Pull the folded loop through the donut  hole as shown.
2) Slip the cord ends through the loop. Pull the ends. Make sure that cords are not crossing.
Turn over the stone so the top of the loop is facing you now, like on the photo below. Now, you will hold your donut this way, front side facing you:
 3) Take one cord end (right on the picture) and pass it to the right, back through the loop. Leave a small loop on top, big enough to fit a cord. Make sure all cords are parallel as shown:
 4) Repeat the same step with the left cord end. You knot has to look like this:
5) Pick up the right cord end and pass it through the left loop as shown:
 6) Pull the cord. Notice, the cord is crossing the horizontal cord on the top of the stone:
 7) Pick up the left cord end and pass it through the right loop as shown:
 8) Tighten the cords:
The result will look different with different cords. I like the leather cord better, but this is my personal choice :) 

December 14, 2016

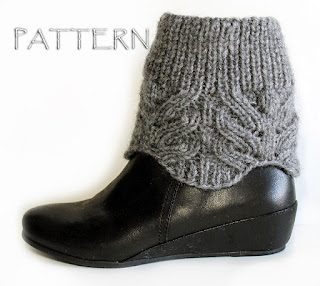
Knit Lace Boot Toppers


Today's must-have accessory lets you create layered looks that showcase your favorite boots. Knit boot toppers look like socks but without the bulk inside your boot. You can wear them over jeans, tights or thin socks for dimensional style.
Knit these unique Boot Toppers, that you'll love.
Make several and give them as gifts!
https://www.etsy.com/listing/485674564/knit-lace-boot-toppers-pattern-pdf?ref=shop_home_active_1

These toppers fit almost all because the stretching capability of the yarn and the pattern.

Skill Level: Advanced Beginner
Materials:
Yarn worsted - 1 ball
One pair of needle size 4.5 mm/US7
Tapestry needle

May 4, 2015

Crochet Wash Cloth

Add charm to your kitchen or bath with these super fun crochet dishcloths!
If you ever plan to give a gift of pretty soaps, lotions, shower gels or other body care products, the handmade washcloths would be a lovely addition to the gift package. 
They are a great take-along project and work up quickly.

https://www.etsy.com/listing/230780505/crochet-wash-cloth-spa-cloth-cotton?ref=shop_home_active_2
You wil need:
size H/8-5.00 mm crochet hook 
Cotton worsted yarn

Make 30 chain stitches (cs)
Yarn over. Skip first 2 cs 
Insert hook in the center of the 3rd chain from the hook.
Yarn over...
Draw through 3 loops on hook
(one half double crochet complete)
Repeat across to end of foundation chain.
You need to turn your work to start Row 2. 
Chain 2 (ch 2) and yarn over the hook (yo). 
Skipping the first stitch of the row directly below the turning chain, insert your hook in the next stitch. 


https://www.etsy.com/listing/230780505/crochet-wash-cloth-spa-cloth-cotton
 Buy these wash cloth here

October 11, 2014

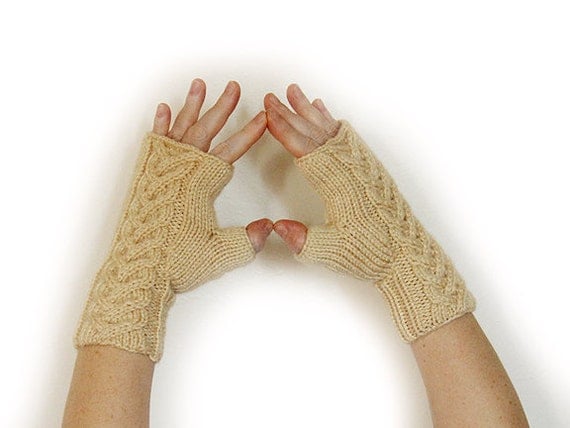
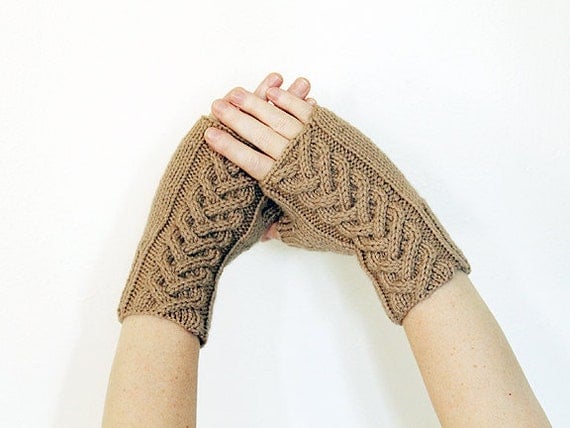
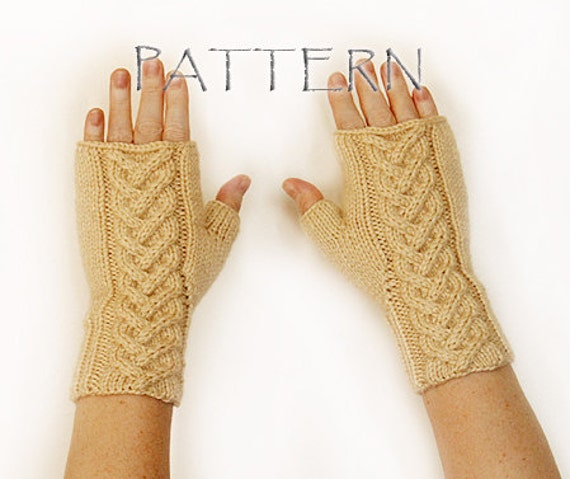
Cable Fingerless Mittens Gloves

These wonderful fingerless mittens hand knitted by me, they are super soft and warm.
Fingerless mitts are very practical but also make great fashion statement. These mittens will keep your hands warm all winter.

https://www.etsy.com/listing/206570692/white-cream-cable-fingerless-mittens?ref=shop_home_active_14
https://www.etsy.com/listing/205785858/beige-cable-fingerless-mittens-gloves?ref=shop_home_active_2
If you want to knit these fingerless mittens, I have a pattern!
https://www.etsy.com/listing/206658059/pattern-knitted-cable-fingerless-mittens?ref=listing-shop-header-0
Buy Pattern HERE
Buy Mittens HERE

October 2, 2014

Knitted Sport Hat

I knitted this hat...13 years ago (or so) in Russia but never used in here, in Arizona. 
My daughter loves it (I love it too). So, I wrote a pattern for this cool hat with three color ornament.
The pattern contains detailed written instructions for shaping, the color work pattern is charted only.

Gauge: 23 stitches = 4 inches in stockinette
Difficulty level: Intermediate
Size: youth/adult.
Skills used: knit in the round, decrease, stranded color-work.
Yarn requirements: Any sport weight yarn in three colors

Buy this pattern HERE

October 1, 2014

Knitted Sneaker Slippers

Finally, I finished them :) I started knitting these cool sneakers about 4 month ago, almost finished and "stuck" only on the laces :) Today, I crocheted theses strings, wrote a pattern/ tutorial, photographed, and posted! Yay!
https://www.etsy.com/listing/205602872/pattern-knitted-sneaker-slippers
Size: woman 7 1/2 - 9 (9 ½ - 10 ½)
Skill Level: Beginner

Materials needed: Double pointed needles size 4.5 mm/US7, crochet hook size E /3.5mm, yarn in two colors- medium weight/worsted
Prerequisites: Knitting in the round, increasing, decreasing

Buy this pattern HERE 
If you do not want to knit but want to wear them, buy them HERE

September 15, 2014

Peacock Chandelier Earrings

Make this pair of chandelier earrings using seed beads (size 8/00), head pins, eye pins, and chain.
1. Slide a 3mm metal bead and 4 seed beads on a head pin. Make a simple loop. Make 8 of these end links.
 
 2. Using eye pins and seed beads, make short links:
8 links with 5 beads, 16 links with 6 beads, 6 links with 7 beads, 4 links with 8 beads, 2 links with 9 beads.
3. Make long links:
Link A: end link + 6 bead link + 5bead link - make 8
Link B: end link + 7bead link + 6beads link - make 4
Link C: end link + 8beads link + 6bead link - make 4
Link D: end link + 9bead link + 7 bead link - make 2
4. Assemble: on a eye pin slide 1 seed bead (SB), link A, SB, link A, SB, link B, SB , link C, SB, link D, SB, link C, SB, link B, SB, link A, SB. Make a simple loop on the end as shown below.
5. Fold a 2" (5cm)  chain in half (to find a center link) and attach an ear wire to this link. Attach the  chain to the loops. Attach the first and the last links of the chain to the loops.
Changing the amount of beads for the links and the lenght of the chain, you can change the size of your earrings.

You can buy these earrings here

July 22, 2014

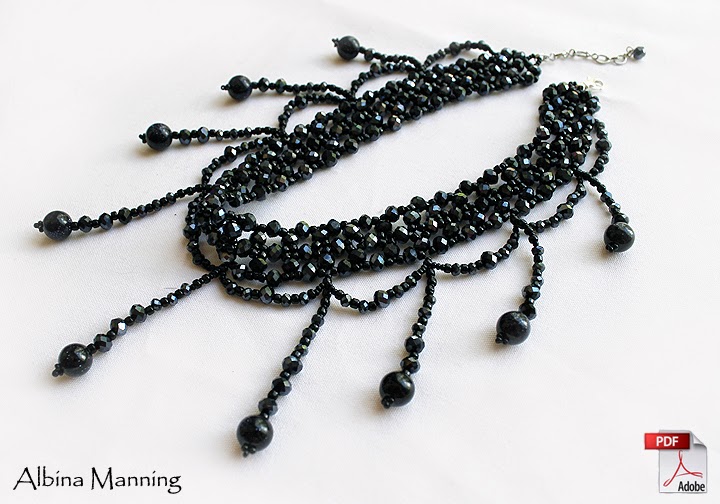
Beaded Choker Necklace Tutorial

This choker is appropriate for nearly all levels of beaders; beginners may find it a little challenging. This tutorial has 11 pages with 33 steps and step-by step photos.
https://www.etsy.com/listing/197330222/beaded-choker-necklace-tutorial-beading
Materials you will need:
Rondelle beads 6x4mm, rondelle beads 4x3 mm, seed beads 11/0, seed beads 6/0, clasp, beading thread and 2 beading needles, extension chain 2" (optional).
https://www.etsy.com/listing/197330222/beaded-choker-necklace-tutorial-beading
 Click photos to buy this tutorial.

See more tutorials here

December 20, 2013

Candles Christmas Cards

It is not late to make a hand-made Christmas/New Year card with Svetlana's easy step-by-step tutorial.

First, lets make a candle. For one candle, you will need three to four  red paper stripes 5mm wide and 11" long. Using  a quilling tool, roll the stripe.

December 31, 2012

Holiday Greeting Card

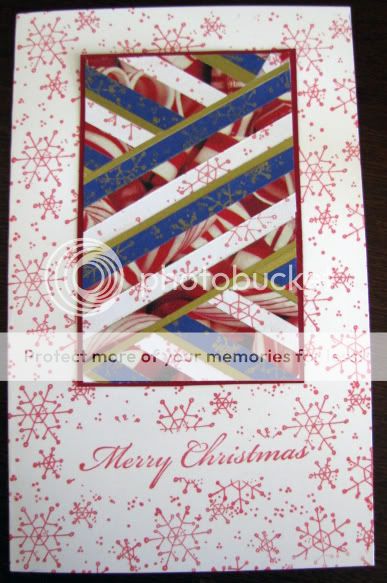
This step by step tutorial will demonstrate how to make a personalized zig-zag greeting card.

Christmas greeting card tutorial

November 19, 2012

Thanksgiving Day Tutorial Giveaway!

Thanksgiving Day Giveaway!
If you are jewelry making lover and would like to try some of my jewelry tutorials, welcome to this giveaway ;) The winner will be able to choose any 4 single Jewelry tutorials from my AroundBeads shop.


 Go to my Around Wire blog for more details. 

October 8, 2011

Earrings for You E-book

Hurray! I finished my second E-book tonight - Earrings for You! (My first one is Beaded Trees)


This is fully illustrated , easy to read 43 page instructional e-book how to create 13 different earrings with wire. This e-book also includes instructions how to make your own ear findings. Techniques used: wire wrapping, coiling, chain maille.
Have a peek:
 You can buy this e-book here .


September 14, 2011

DIY Tutorial: Wrapped Ring

The other day my friend asked me to make a ring. I made it. And I made a DIY tutorial for it too:) I knew you would love it, right?

Tools and Materials: 
  • 20ga round dead soft wire – 2 ft
  • 10 mm bead – 1
  • Ring mandrel
  • Chain nose pliers
  • Wire cutters
  • Liver of sulfur (optional)

August 27, 2011

Tea Rose

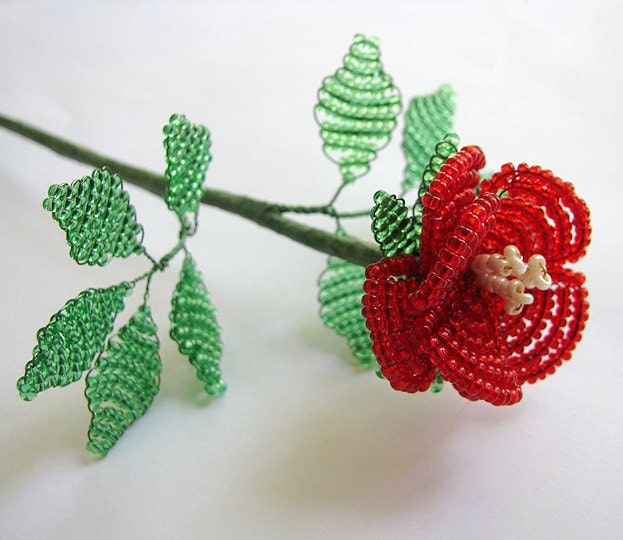
The other day I was making a tea rose for my friend...beaded rose on wire of course :)
I love making these little beauties. Only 8 petals, 6  sepals, stamen, and 10 leaves for 1 flower (smile)


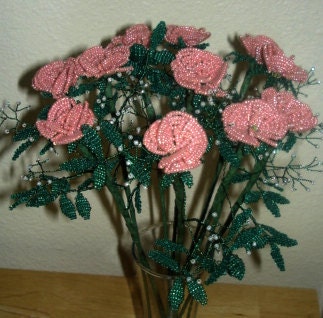
I remember 7 years ago I was making 11 pink tea roses. I could make a dozen, but I run out of beads. The bouquet was beautiful! I have a small picture of it.

I have a tutorial how to make this beaded tea rose. You will learn and master Victorian technique while making this cute little flower with leaves. This tutorial has 8 pages with 26 step-by-step detailed photos. (Click here for details).
Oops... I almost forgot to boast :) I've got a gift from my friend Alla who runs FleetingStillness shop on Etsy. She made a beautiful Stained Glass Panel Bud Vase for me, where my tea rose now lives :) I think, they were "born" for each other :)


August 20, 2011

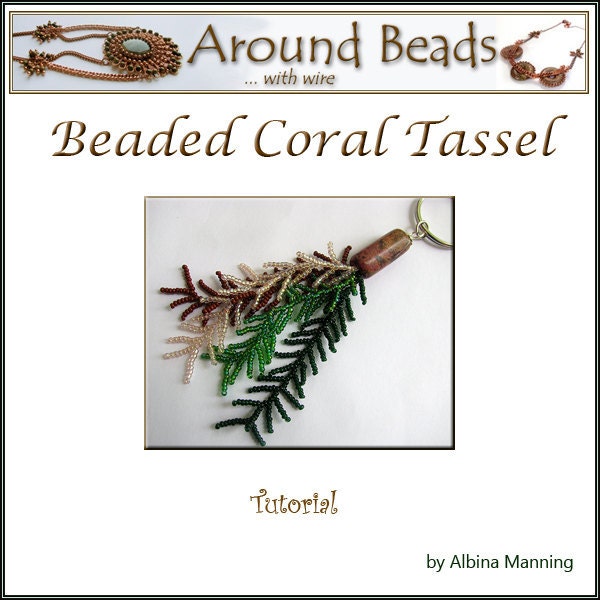
Beaded Coral Tassel Tutorial

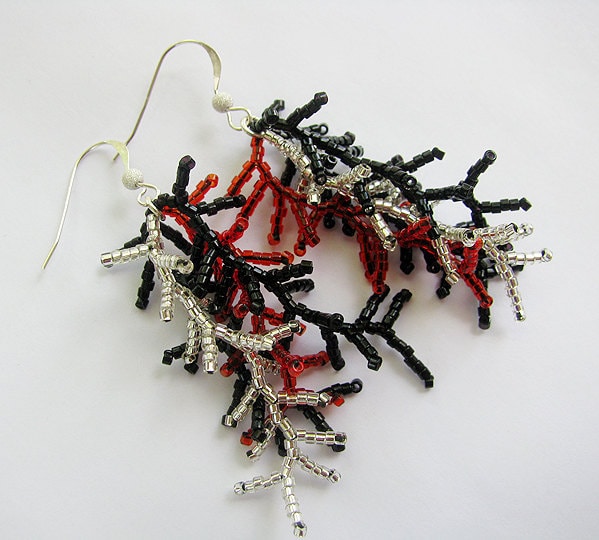
Yesterday I was working hard on my new tutorial how to make beaded coral tassel. It is fun to make this kind of tassels. You can use them for making  bag charms and keyrings or these earrings
My tutorial has printer friendly 5 pages with 16 steps with colorful photos


you will need:
Materials:
  • Seed beads #11/0
  • Focal bead (or group of 2-3 large beads)
  • Beading thread
  • Lobster clasp (for bag charm)
  • Split ring (for keychain)
  • Ear hooks (for earrings)
Tools:
  • Beading needle #12
  • Scissors (or thread burner)
$3.50


July 9, 2011

Tutorial: Wrapped Rectangular Pendant

While my giveaway is going on, many people requested more DIY tutorials on my blog. I do love free tutorials too :) Well, here it is the next!

I have a habit of collecting beautiful, large gemstone beads. This is one of the ways I use wire to make a stylish pendant with them. Please notice that I use craft or florist wire to plan my design. When I am happy with the results, I create the finished item using a precious metal wire, in this case sterling silver. Although the following pattern uses a specific sized bead, by using my formula you can plan and make these pendants from about any size!


Materials for one pendant:
* 1 rectangular shaped gem bead, approx.
1 ¼”x 1 ¼
* 2
2ga round soft wire* with 1 foot of wire you can make 3 wraps around 1 ¼”x 1 ¼” bead.

Tools needed:

* Flush cutter

* Round nose pliers

* Flat nose pliers


 Formula: Wire: 1 foot for each desired 3 complete wraps around a bead + the length of the bead +2 inches

June 2, 2011

Button into Ring

Yes, I know it sounds funny :)
Till recently I separated these two things. Buttons were for dresses, shirts, jackets, etc. Rings were just rings :)
Now , when I see a pretty button, I always think how I could  use it to make a...ring!
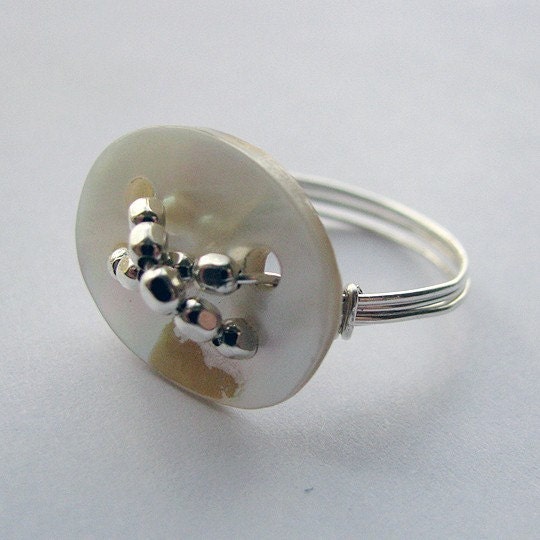
... I had this mother-of-pearl 4-hole button, resting lonely in my box. Why not to give you,  my little friend, a new life?

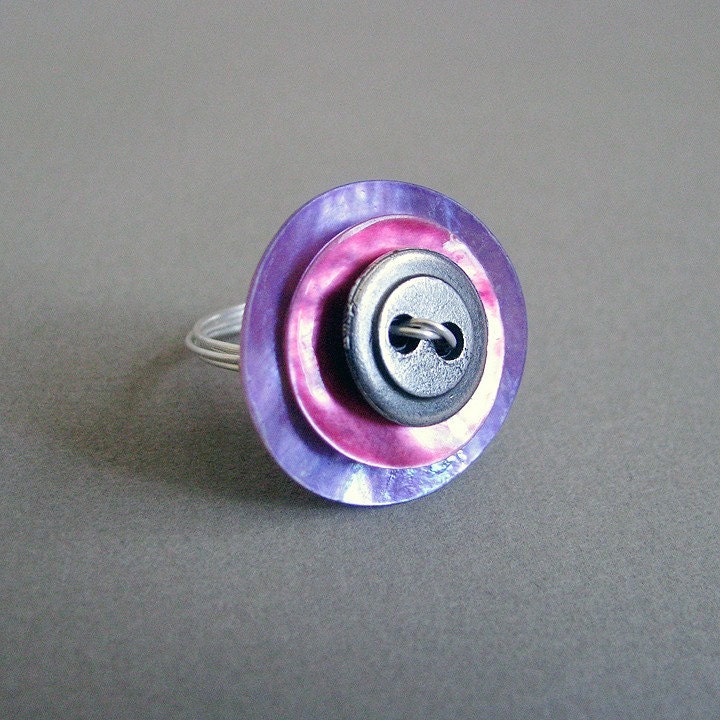
I love the idea of recycling. The next were  shell 2-hole buttons (plus extra buttons from daughters pants, that usually put in little plastic baggy). So,  Party Shell ring was ready !


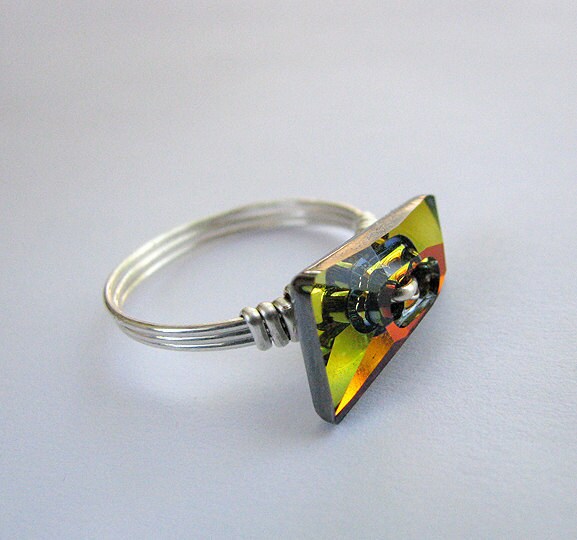
I could not stop now! I made really cute ring with Swarovski crystal® button and sterling silver wire.
Perfect for party nights or casual outfit:


You can buy all these rings at my Etsy shop

If you want to make your own ring,  I have step-by-step tutorial, that shows how to make an elegant ring using any (even recycled!) 4-hole button. You can use this method to make a ring with 2-hole button(s) as well.
Only $2.50
 

A licensed copy of the lesson in the PDF format will be sent to your e-mail address usually within 24 hours from receiving your payment .